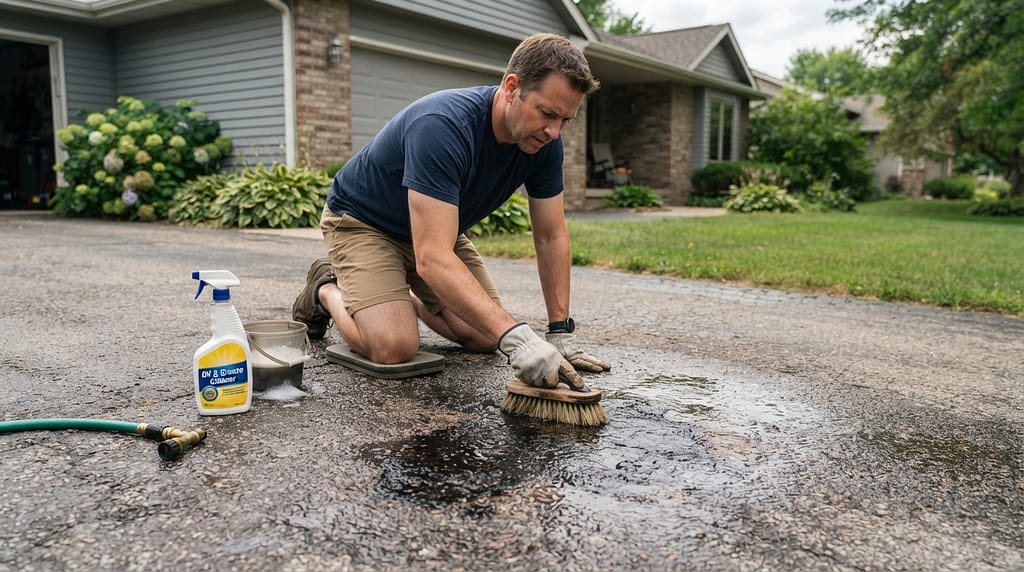
If you’ve ever splashed gas while filling up a lawnmower or watched a slow drip form under a parked car, you already know how to remove gasoline stain from asphalt is one of the most common questions homeowners ask us.
However, I was scrolling through the comments on our asphalt stain removal guide this week when I hit one that made me stop and think. Our reader John mentioned they’d been fighting an old gasoline stain with a 1/4 cup of TSP solution, gotten mixed results, and were about to try a TSP paste next. It’s a great question, and honestly, it deserves its own deep dive rather than a quick reply buried in a comment thread. Gasoline stains are a different animal than oil drips or tire marks, and after twenty-plus years of pulling up driveways, resealing lots, and fielding calls from frustrated homeowners, I’ve learned that knowing how to remove gasoline stain from asphalt properly can save you thousands in premature resurfacing. So let’s get into it — including my honest take on that TSP approach.
Key Takeaways
- Gasoline is a solvent itself, which means it actively breaks down asphalt binder — untreated spills can cause soft spots or crumbling within 6-12 months.
- TSP (trisodium phosphate) works on some stains, but it’s primarily an alkaline degreaser for surface grime, not a solvent-neutralizer — that’s why results can be mixed, and handling it does come with its own safety precautions.
- A dish soap and hot water scrub, repeated 2-3 times, resolves roughly 60-70% of fresh-to-moderate gasoline stains.
- For set-in stains older than a few months, a citrus-based degreaser or dedicated asphalt/concrete solvent stain remover outperforms TSP paste in most field tests I’ve run.
- Kitty litter or oil-absorbent granules should go down within the first 15 minutes of any spill — the EPA’s small spill guidance recommends this same absorb-first approach for petroleum spills generally.
- Pressure washing above 3,000 PSI can actually damage asphalt surface aggregate — stick to 1,500-2,500 PSI with a fan tip.
- Professional stain removal typically runs $75-$250 per driveway section, while DIY materials cost $15-$40.
- Sealcoating should wait at least 24-48 hours after any solvent treatment, and well-built driveways generally don’t need sealing more than every 2-5 years to begin with.
- Untreated gasoline stains left more than a year often require patch repair, not just cleaning, running $300-$800 per spot.
Understanding How to Remove Gasoline Stain from Asphalt: Definition and Why It’s Important
I want to start by explaining what’s actually happening chemically, because it changes how you should approach the fix. Asphalt is a petroleum-based binder holding aggregate together — think of it like the glue in a granola bar. Gasoline is also petroleum-based, so when it hits your driveway, it doesn’t just sit on top like water. It starts to dissolve the very binder that’s holding your pavement together. That’s fundamentally different from, say, a bird dropping stain or tire scuff, which sits mostly on the surface.
This is why generic “stain removal” advice — the kind covered in our general asphalt cleaning guide — doesn’t always translate perfectly when you’re specifically trying to figure out how to remove a gasoline stain from asphalt. You’re not just fighting discoloration. You’re fighting active degradation. I’ve seen driveways where a gas spill from a lawnmower, ignored for a summer, turned into a soft, crumbly patch you could poke a screwdriver into. That’s the risk of waiting, and it’s also why the EPA treats even small petroleum spills as something requiring prompt cleanup rather than something to leave alone.
Pro Tip: If you ever see a fresh spill, your first move isn’t a cleaner at all — it’s absorption. Kitty litter, sand, or commercial oil-dry granules spread immediately will pull a huge percentage of the gasoline out before it soaks in. Every minute counts here, similar to blotting a wine stain on carpet before it sets.
Step-by-Step Guide: How to Remove Gasoline Stain from Asphalt
I’ve refined this process over hundreds of driveways, and I break it into two tracks depending on how old the stain is.
For Fresh Spills (Same Day to 1 Week Old)
- Absorb immediately. Cover the area with cat litter, sawdust, or an oil-absorbent product. Let it sit 15-30 minutes, then sweep it up.
- Apply a degreasing dish soap. Dawn or a comparable degreaser, straight onto the stain, scrubbed with a stiff-bristle push broom.
- Add hot water and agitate. Hot water helps re-emulsify residual gasoline. Scrub in circular motions for 3-5 minutes.
- Rinse thoroughly. Use a garden hose or pressure washer at 1,500-2,500 PSI — going higher risks stripping aggregate, which I cover more in our pressure washing asphalt safely guide.
- Repeat if a shadow remains. Most fresh spills need 2-3 passes.
For Set-In or Old Stains (Weeks to Years Old)
- Test a citrus-based degreaser first. These are solvent-based cleaners specifically formulated to break down petroleum products, unlike TSP, which is more of an alkaline degreaser for dirt and grease films.
- Apply the degreaser and let it dwell. Follow the product’s dwell time — usually 10-15 minutes. Don’t let it dry on the surface.
- Scrub with a stiff brush, not a wire brush. Wire brushes can scratch and roughen asphalt, creating spots that grab dirt faster later.
- Rinse and inspect. If a faint shadow remains, that’s often permanent discoloration from the binder breakdown, not surface grime — more on that below.
- Consider a patch if the surface feels soft. A shadow is cosmetic. Sponginess underfoot means the binder has degraded and you’re looking at repair, not cleaning — see our asphalt patch repair guide for next steps.
Pro Tip: I usually tell homeowners to test any new cleaner on a small, inconspicuous corner first. Asphalt color and porosity vary batch to batch, and I’ve seen a solvent lighten one driveway section unevenly compared to the rest.
TSP vs. Citrus Degreaser vs. Commercial Asphalt Stain Remover: Key Differences
Since the original comment specifically asked about TSP, let’s compare it head-to-head with the other two options I recommend most when someone is trying to figure out how to remove a gasoline stain from asphalt for good.
| Aspect | TSP Solution/Paste | Citrus-Based Degreaser | Commercial Asphalt Solvent Cleaner |
|---|---|---|---|
| Best for | Grease films, dirt, mild grime | Fresh-to-moderate gasoline/oil stains | Old, set-in fuel stains |
| Mechanism | Alkaline cleaning agent | D-limonene solvent breaks petroleum bonds | Purpose-built solvent blend |
| Cost | $8-$15 per box | $12-$25 per bottle | $20-$45 per bottle |
| Dwell time needed | 10-20 min (paste longer) | 10-15 min | 5-15 min (product-specific) |
| Safety handling | Causes skin/eye irritation — gloves and eye protection recommended | Low, but ventilate area | Moderate — always spot test and ventilate |
| Effectiveness on gasoline | Mixed, as your experience shows | Good to very good | Very good to excellent |
Based on what you described, I’d actually recommend skipping the TSP paste as your next move and trying a citrus-based degreaser instead. TSP is excellent for cutting through everyday dirt and light oil film, which is why it works for general driveway cleaning and seal coat prep, but gasoline’s chemical structure resists alkaline cleaners more than it resists true solvents. Think of it like trying to remove a permanent marker stain with regular soap versus rubbing alcohol — different chemistry, different results. Worth noting too that TSP is classified as an irritant that requires careful handling, so if you do stick with it, gloves and eye protection are a good idea regardless of concentration.
Factors to Consider for Your Gasoline Stain Removal Project
Before you grab any product, a few things determine which approach makes sense:
- Age of the stain. Fresh spills respond to almost anything. Stains older than 6 months often need solvent-grade products.
- Asphalt age and condition. Older, more porous asphalt absorbs gasoline deeper and faster, similar to how an old sponge soaks up more liquid than a new one.
- Climate and temperature. Heat accelerates gasoline penetration. In warmer regions, I tell clients to treat spills within the hour whenever possible, since summer asphalt surface temps can hit 140-160°F and soften the binder, letting gasoline sink faster.
- Size of the affected area. A dinner-plate-sized stain is a weekend DIY job. Anything larger than a few square feet starts tipping toward professional territory.
- Upcoming sealcoat plans. If you’re planning to seal coat this season, stain removal isn’t optional — sealer won’t properly bond over an oily residue, and most low-traffic driveways only need resealing every 2-5 years anyway, so it’s worth doing the stain treatment right the first time.
Pro Tip: Don’t sealcoat over a stain you haven’t treated, hoping it’ll “cover it up.” Gasoline residue interferes with sealer adhesion, and I’ve had to redo entire driveways because a client tried to paint over the problem instead of fixing it.
The Process of Full Gasoline Stain Remediation
Here’s how I approach it on a full job site when someone asks me how to remove a gasoline stain from asphalt the right way, broken into phases.
Phase 1: Assessment
I check whether the stain is purely cosmetic or has compromised the asphalt structurally. I do this with a simple probe test — pressing a flathead screwdriver into the stained area. If it sinks in easily compared to surrounding asphalt, that’s degraded binder, not just discoloration.
Phase 2: Treatment
This is the cleaning process outlined above — absorb, degrease, scrub, rinse, repeat as needed.
Phase 3: Drying and Inspection
I let the area dry fully, typically 24 hours, then inspect under different lighting (early morning or late afternoon sun shows staining better than midday light).
Phase 4: Repair (If Needed)
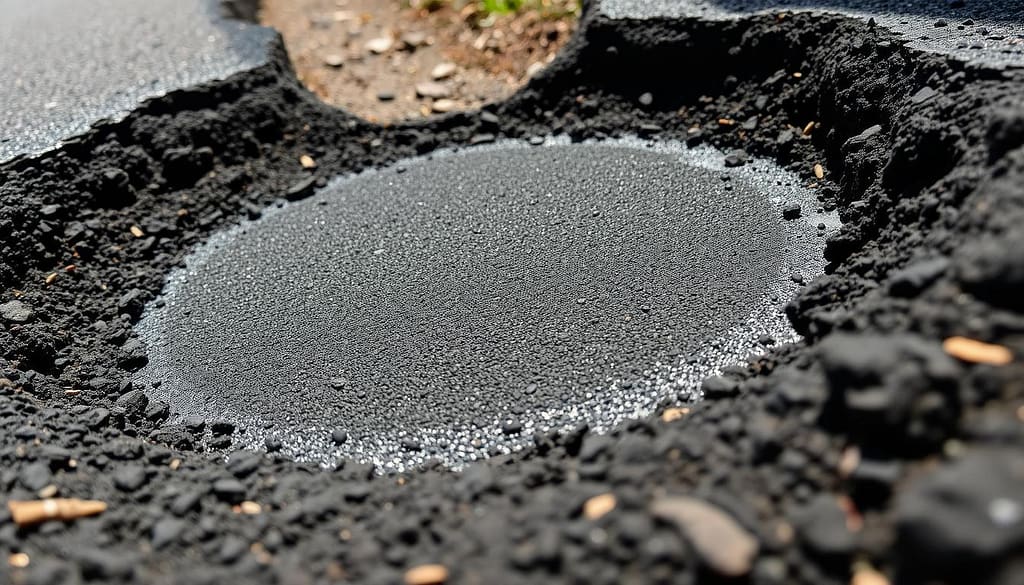
If the probe test showed softening, cleaning alone won’t fix it. At that point, you’re looking at a cold patch or hot patch repair, which I detail in our asphalt patch repair guide.
Phase 5: Sealcoating (Optional but Recommended)
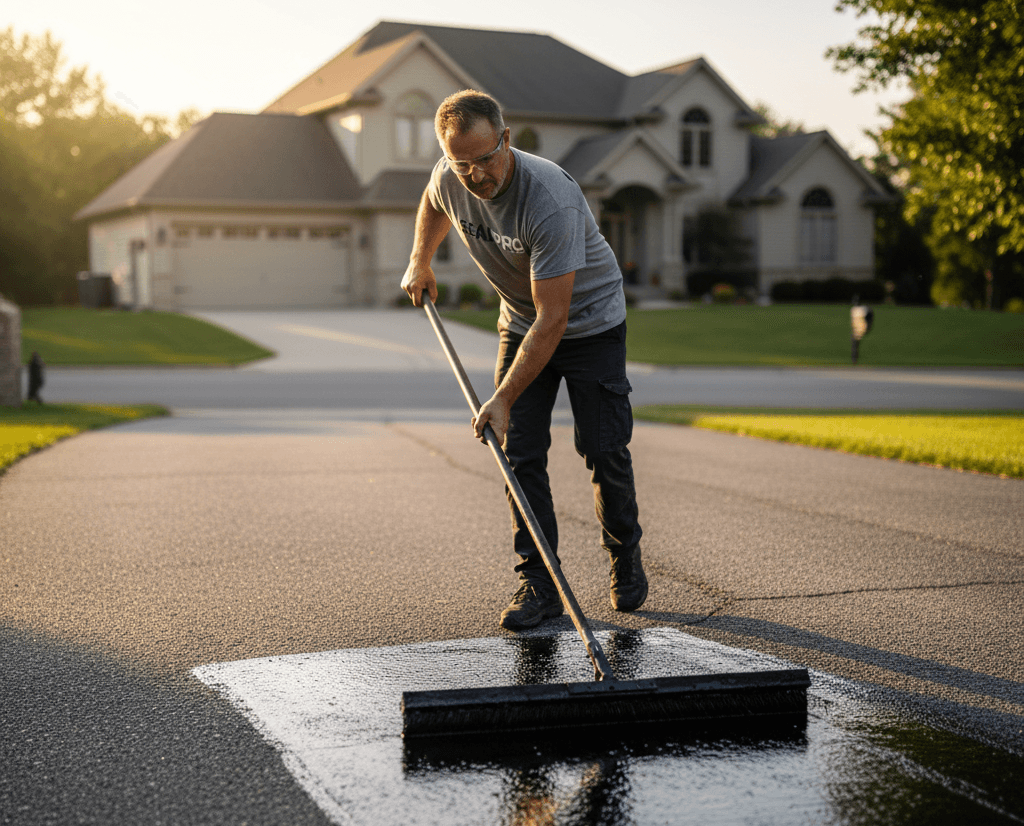
Once clean and dry, sealcoating the treated area — or the whole driveway for uniform appearance — protects against future spills. It’s genuinely like sunscreen for your driveway: it won’t stop every problem, but it adds a protective buffer, and it’s the kind of preventive step the Asphalt Institute recommends as part of routine pavement preservation.
Pro Tip: Fall and spring are ideal for this kind of maintenance work. Temperatures between 50-85°F let cleaners and sealers cure properly without flash-drying or staying tacky, something I cover more in our seasonal driveway maintenance calendar.
Cost Analysis: What to Expect
Here’s a realistic cost breakdown based on jobs I’ve priced and done over the years:
| Scope | DIY Cost | Professional Cost |
|---|---|---|
| Small fresh stain (under 2 sq ft) | $10-$25 (soap, degreaser) | $75-$125 |
| Larger or older stain (2-10 sq ft) | $25-$50 (solvent cleaner, brushes) | $125-$250 |
| Structural damage requiring patch | $50-$150 (patch material) | $300-$800+ |
| Full driveway sealcoat after treatment | $100-$250 (materials, roller) | $300-$600 |
Pro Tip: If you’re already planning to seal coat, bundle the stain treatment into that project. Many contractors, myself included, will treat isolated stains at a reduced rate when it’s part of a larger sealcoating job rather than a standalone service call.
Professional vs. DIY: Making the Right Choice
I’ll be straight with you: most single-spot gasoline stains are absolutely DIY-friendly, especially if you catch them early. Where I recommend calling in a pro:
- The stain covers more than roughly 10 square feet
- The probe test reveals soft or crumbling asphalt
- You’ve already tried 2-3 DIY attempts without improvement, like the situation described in that original comment
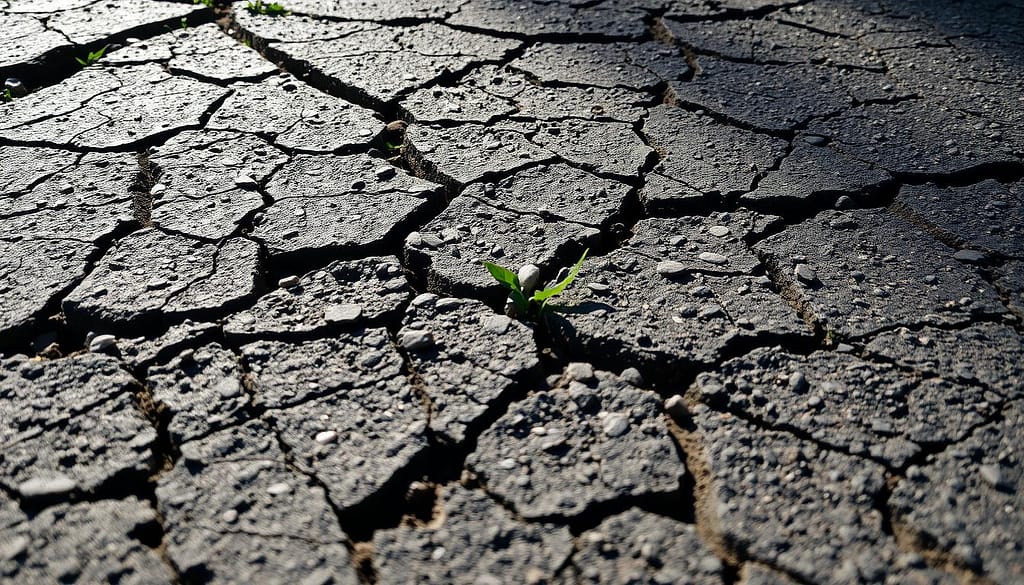
- The driveway is older than 15-20 years and showing other wear (alligator cracking, edge crumbling)
If you’re in that last category, it’s worth getting a professional opinion before investing more time in home remedies, since you might be treating a symptom of broader asphalt aging rather than just a stain. Our DIY vs. professional sealcoating comparison walks through this decision in more detail if you’re weighing costs.
Common Mistakes to Avoid
- Using a wire brush. It roughens the surface, which actually collects dirt and stains faster afterward.
- Pressure washing above 3,000 PSI. This can blast away fine aggregate and leave the surface more porous, ironically making future stains worse.
- Skipping the absorption step on fresh spills. Jumping straight to scrubbing without absorbing first just spreads the gasoline into a wider area, and skips the same first response step environmental cleanup guidance recommends for petroleum spills.
- Assuming one cleaning method works for all stain ages. As the original commenter found, a method that works on grime doesn’t always work on solvent-based stains.
- Sealcoating too soon after treatment. Trapping moisture or cleaner residue under sealer causes bubbling and peeling within a season.
- Pouring gasoline-contaminated rinse water into storm drains. Treat and dispose of contaminated wash water responsibly — check your local hazardous waste disposal guidelines if you’re dealing with a larger spill.
Maintenance Tips and Best Practices
- Keep an oil-absorbent product in your garage or shed for immediate spill response.
- Inspect your driveway seasonally, especially after winter, for new staining you might have missed.
- Reseal every 2-3 to 2-5 years depending on climate and traffic, which both protects against future stains and makes existing ones easier to treat.
- Address any spill — gas, oil, transmission fluid — within 24 hours whenever possible.
- Keep a designated “spill kit” (absorbent granules, degreaser, stiff brush) near where vehicles or equipment are fueled or serviced.
- Bookmark our full driveway maintenance schedule so you’re not searching for how to remove a gasoline stain from asphalt again next time — prevention beats cleanup.
Final Thoughts
Gasoline stains occupy a strange middle ground between simple cosmetic marks and genuine structural threats, and that’s really what makes them trickier than the average driveway stain. The good news, based on everything I’ve walked through here on how to remove a gasoline stain from asphalt, is that most spills respond well to a straightforward process: absorb quickly, degrease with the right product for the stain’s age, scrub without damaging the surface, and rinse thoroughly. For a stain that’s already resisted a TSP solution, I’d genuinely suggest trying a citrus-based degreaser before going back to a TSP paste — it’s simply better matched to gasoline’s chemistry.
If you’ve tried a few rounds of cleaning and you’re still seeing a stubborn stain, or if the area feels soft underfoot, that’s your cue to get a professional assessment rather than keep experimenting. A quick consultation can tell you whether you’re dealing with cosmetic discoloration or something that needs a patch repair. Either way, staying on top of spills — and following a regular sealcoating schedule — is the best long-term defense for keeping your driveway looking good and structurally sound for years to come. That’s the real answer to how to remove a gasoline stain from asphalt for good: catch it early, treat it right, and protect the surface afterward.
FAQ: How to Remove Gasoline Stain from Asphalt
Does gasoline permanently damage asphalt?
It can, if left untreated. Fresh spills that are absorbed and cleaned quickly rarely cause lasting harm. Spills left for weeks or months can soften the binder and lead to structural weakening.
Will WD-40 or similar products remove a gasoline stain?
Not reliably. WD-40 is itself a petroleum-based product and can sometimes worsen staining rather than lift it.
Is TSP paste better than TSP solution for gasoline stains?
The paste form does allow for longer dwell time and more concentrated contact, which can help somewhat, but it’s still working against gasoline’s chemistry rather than with it. A citrus-based or dedicated solvent cleaner is generally more effective, and remember TSP requires careful handling with gloves and eye protection either way.
Can I use bleach on a gasoline stain?
I don’t recommend it. Bleach doesn’t break down petroleum compounds effectively and can discolor asphalt unevenly.
How long after removing a gasoline stain can I sealcoat?
Wait at least 24-48 hours to ensure the area is completely dry and free of cleaner residue.
What if the stain won’t come out at all?
Some very old or deep stains leave a permanent shadow even after the gasoline itself is neutralized. At that point, sealcoating the whole surface for uniform color is usually the most practical fix.
Is it safe to pressure wash a gasoline-stained driveway?
Yes, at moderate PSI (1,500-2,500) with a fan tip, but avoid high-PSI settings that can strip surface aggregate.
Does gasoline permanently stain asphalt?
Not always. Fresh spills cleaned within the first hour rarely leave permanent marks, but gasoline that sits for weeks or months can break down the asphalt binder enough to leave a lasting dark patch even after cleaning.
What household products remove gasoline stains from asphalt?
Degreasing dish soap, baking soda paste, and kitty litter for initial absorption are the most reliable household options. Citrus-based degreasers work well for moderately old stains without the risk of damaging the surface further.
Can I pressure wash a gasoline stain off my driveway?
Yes, but only after absorbing and scrubbing first, and keep the nozzle at least a foot away from the surface. Pressure washing alone, without pretreatment, often just spreads the gasoline deeper into the pores instead of removing it.
Is it safe to use a wire brush to remove gasoline stains from asphalt?
We generally recommend against it. Wire brush attachments on power tools can strip the asphalt binder, especially on a surface already softened by fuel, turning a simple stain into a repair job.
How do I know if a gasoline stain requires patching instead of cleaning?
Press on the stained area. If it feels soft, spongy, or crumbles under light pressure, the asphalt binder has already broken down and cleaning won’t restore it, meaning a patch is the honest next step.
Will sealcoating remove an existing gasoline stain?
No. Sealcoating should only be applied after a gasoline stain has been cleaned and the surface is completely dry, since it’s a protective layer, not a stain remover.
Is it worth hiring a professional to remove a gasoline stain in 2026?
For a single fresh stain, DIY methods handle the job just fine. For older, widespread staining or surfaces showing signs of softening, a professional assessment saves you from turning a cleaning project into an unplanned repair bill.