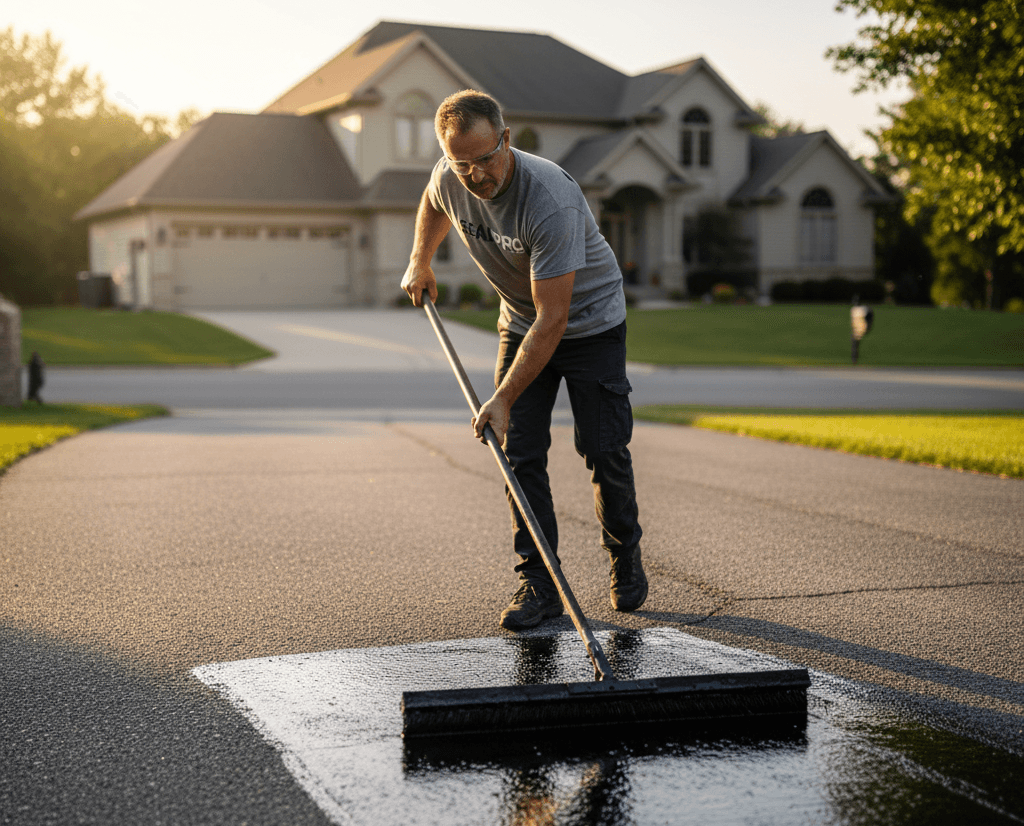
I remember standing in a client’s driveway one late August afternoon, watching rain bead up on asphalt that had stopped repelling it. She’d paid $4,800 to have it paved ten years earlier. Now it was gray, threaded with hairline cracks, and potholes were gnawing at the edges. “The contractor said twenty years,” she told me. “Why is it dying?”
The answer didn’t surprise me. Her driveway had never been sealcoated. I’ve seen that story a hundred times. People drop serious money on beautiful blacktop, then leave it to bake in the sun, soak in the rain, and freeze in the winter with nothing on top. It is like buying a new car and never changing the oil.
That is the good news, though. This problem has a cheap, simple fix. Learning how to sealcoat an asphalt driveway is a weekend skill that costs a few hundred dollars, a fraction of what a full repave runs. In this guide I’ll walk you through the products, the right temperatures, the step-by-step process, the real costs, and the mistakes I’ve watched pros make, so you’ll know when to grab a squeegee and when to call a professional.
Key Takeaways
Here is the short version before we dig in.
- Sealcoating blocks UV rays and water, the cause of up to 90% of premature asphalt failure. Sun and moisture kill pavement, not traffic.
- Only work when the temperature sits between 50°F and 85°F, with 48 dry hours on each side.
- New driveways want two or three coats, then reseal every two to three years at one gallon of sealant per 80 to 100 square feet.
- A 600-square-foot driveway takes 6 to 8 gallons per coat and costs $100 to $250 in material.
- Hiring it out runs $0.25 to $0.50 per square foot, about $150 to $300 for a standard drive.
- Give it 24 to 48 hours before you walk on it and 48 to 72 hours before you drive on it. Cool weather means longer waits.
- Fill cracks wider than 1/8 inch and patch potholes first, so you don’t trap water under your new seal.
- The sweet spot for most of the country is May through September. Never seal below 50°F.
- Sealed on schedule, a driveway can live 5 to 10 years longer and avoid a repave that costs $3 to $7 per square foot.
Understanding Asphalt Sealcoating: Definition and Why It’s Important
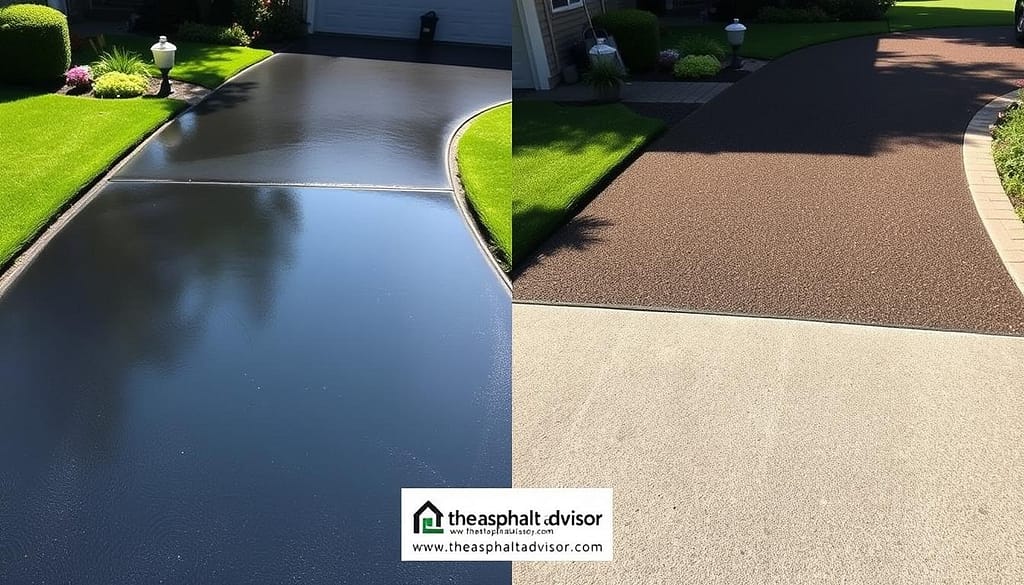
In my experience, most homeowners misunderstand what sealcoating actually is, so let me keep it simple. It is a liquid protective layer, usually a refined coal tar or asphalt emulsion, that you spray or squeegee onto existing asphalt. Think of it as sunscreen for your driveway. Sunscreen absorbs UV rays before they reach your skin, and a good seal does the same for the asphalt binder while shedding water before it can cause damage. If the term is new to you, my what is sealcoat? essential guide covers the basics.
Here is the science without the jargon. Asphalt is crushed stone held together by a petroleum binder called bitumen, the material that gives new blacktop its dark, flexible character. Bitumen has one fatal weakness: oxidation. Sunlight dries the binder out, turning it brittle and gray. Water then slides into the microscopic gaps, freezes, and expands all winter, prying the pavement apart from inside. That sun-and-moisture pair is what ruins most driveways, and the research agrees.
Most of the calls I take start with the same worry: “Is it already too late?” Nine times out of ten it isn’t. The driveway just needs a real clean, a patient fill of the cracks, and two honest coats applied in the right window. The trick is recognizing the difference between wear and real failure, which is exactly the skill a good seal saves you from having to learn the expensive way. That early judgment is why I enjoy talking a nervous homeowner through it before they book anything.
Sealing is a classic case for the savings. A driveway sealed on schedule lasts 15 to 20 years, while one left bare crumbles in 8 to 10. Prep matters just as much as the coat. My asphalt driveway sealing preparation guide explains the cleaning that makes a coating stick.
But here is an honest boundary: sealcoating is maintenance, not repair. It cannot fix a slab that is already cracked or sunk. For a damaged driveway you need asphalt repair help for homeowners, which is a different kind of job.
Pro Tip: The first seal decides how many years the process works. Check the surface: gray and chalky with hairline cracks means you are in time. Spiderweb alligator cracking, or a sunken spot in the middle, means you are too late. Do not seal a surface that is already failing.
How to Sealcoat an Asphalt Driveway: 10 Best Practices
Here is the list I have refined over twenty years, ten habits that separate a seal lasting two years from one lasting five. They are the heart of how to sealcoat an asphalt driveway the right way. Print them and tape them to the garage wall, because order matters — sealing out of sequence turns a good product into a failed job.
First, seal in the right season, typically May through September, when daytime temperatures stay between 50°F and 85°F. Prolonged cold keeps the mix from curing, and baking heat blisters the surface.
Second, check the forecast. I never start without 48 hours of dry weather on each side. A cloudburst within a day can ruin the whole effort.
Third, clean the surface thoroughly. It is the most skipped step and the most important one. Power-wash away dirt, oil, and dust, then let it dry. Dirt breaks the bond, so the coating will peel within months. If you have stubborn spots, my how to remove stains from asphalt guide walks you through the prep.
Fourth, repair before you seal. Fill any crack wider than 1/8 inch with crack filler and patch potholes first. My asphalt pothole patching guide covers that stage fully.
Fifth, treat oil and gas spots with a stain-blocking primer so they don’t bleed through the new coat. For severe petroleum stains, this how to remove gas stains from asphalt guide tells you how deep the cleanup has to go.
Sixth, mask the edges you don’t want black, including concrete curbs, the garage threshold, and any brick border.
Seventh, use the right tools. A long-handled squeegee beats a roller every time, and a rented sprayer is best for anything over 2,000 square feet.
Eighth, apply thin, even coats. One heavy layer can’t cure properly. I use two thin coats, or three on very fresh asphalt, each about 15 mils thick.
Ninth, respect the dry time. Coats need 6 to 8 hours to set, 24 hours before walking, and 48 to 72 hours before a car. Test with a fingertip.
Tenth, seal on a schedule. This is a recurring chore, not a one-time event. Mark every two to three years on the calendar like an oil change.
Pro Tip: Seal too soon and you trap the oils a new driveway still needs to release; wait too long and oxidation takes hold. The window between 90 days and 12 months after paving is your best shot at adding a decade of life.
Sealcoating vs Crack Filling vs Resurfacing: Key Differences
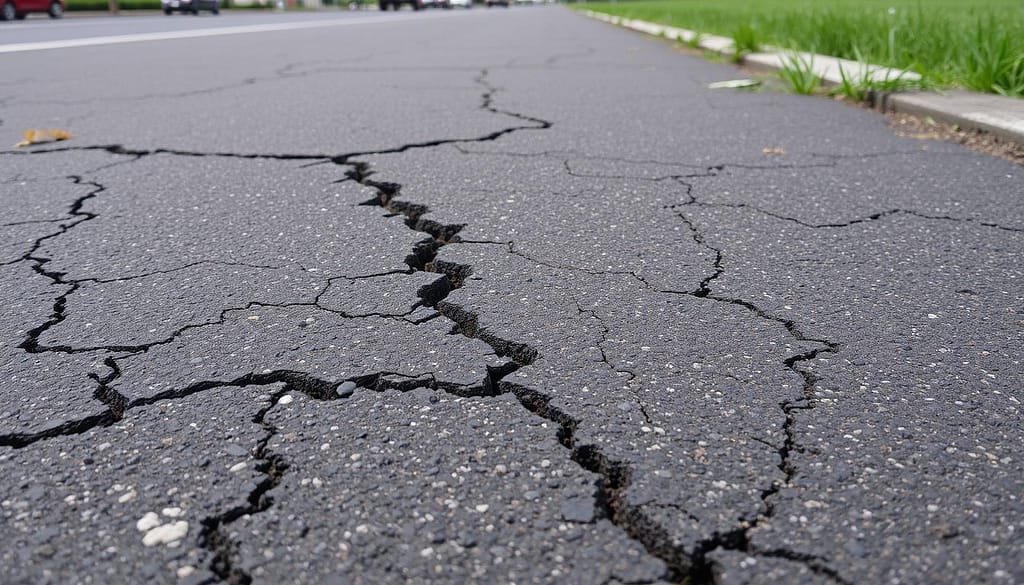
Homeowners often ask whether crack filling and sealcoating are the same job. They are not. Confusing the two is how driveways fall apart.
Crack filling is the repair. It seals an individual crack so water stays out, using a thick rubberized material pulled into the gap with a caulk gun. It is the last line of defense for one wound. When the driveway genuinely needs repair, read my sealcoating vs resurfacing guide so you don’t coat a crack and ignore the bigger issue.
Sealcoating is the prevention. It lays a thin membrane across the whole surface, shielding it from sun, water, and chemicals. It is the first line of defense.
The order that saves money never changes: cut the crack first, seal second. Coat over an open crack and water keeps working its way up; fill but don’t seal, and the crack simply comes back. Learning what causes asphalt cracking lets you stop the relapse instead of chasing it.
If the driveway has truly failed, you are looking at an overlay or a full repave. My asphalt overlay guide shows when a renewal helps and when the only answer is to start over. When resurfacing is the real need, my sealcoating vs resurfacing guide covers the difference.
Use the quarter test. If you can slip the edge of a quarter into a crack, fill it with crack compound before you seal. If the gap is hairline, about a business card wide, the seal coat covers it easily. That one rule settles most of the unclear cases.
Factors to Consider for Your Sealcoating Project
Think through these five things before you spend a cent. Once you line them up, the mechanics of how to sealcoat an asphalt driveway get far easier to get right.
Start with climate. In the frost belt, winter freeze-and-thaw is the top enemy, so pick a product strong against water. In the sunny South, UV is the bigger force, so ultraviolet block matters most. For homeowners in the Upper Midwest and New England, plan the seal for a stretch in late spring, once the frost has fully left the ground and the road salt has been washed away. For wet months and drainage issues, my driveway water damage prevention guide has the checklist.
Then the surface condition. A new driveway needs about 90 days to cure before its first coat. An old, cracked, or sunken driveway needs repairs before any finish.
Then the product type. Coal tar is the traditional pick, tough and petroleum-resistant. Asphalt emulsion is cheaper and more eco-friendly but less resistant to gas and oil. Check local rules, because some areas restrict coal tar.
Then the slope. A glossy finish on a sloping driveway becomes slick in the rain, so ask for a sanded mix on any incline.
Then the traffic. A busy commuter driveway wears the seal faster and needs resealing more often than a quiet family lane.
The Process of Sealcoating an Asphalt Driveway
Here is the sequence I follow on every job. It works on a suburban home, a rental property, or a commercial lot.
Step 1: Assemble the Gear
You need the sealant, a long squeegee, a roller for the edges, a clean power washer, crack filler, masking, primer, and cold patch. I rely on Foundation Armor driveway sealer for durable coverage, a professional squeegee kit for even spread, and asphalt crack filler for the repair stage.
Before you buy a single drop, measure the driveway so your gallons add up. Length times width gives the square footage, then add a little for curves and apron. Under-buying is the most common DIY error, and it usually means a second trip to the store plus a visible seam where the batches meet.
Step 2: Clean and Dry
Power-wash away the old dust, moss, and peeling oxide, then wait for the surface to dry fully. Sealing over damp asphalt is sealing over failure. A full day of drying is the safe rule.
Step 3: Patch First
Fill the cracks and patch the potholes, then let the repairs set before you seal. A skipped crack becomes a leak the first winter.
Pro Tip: Keep a bucket of soapy water nearby and rinse the squeegee as you go. Sealant that hardens on the tool turns your next pass into a streaky mess.
Step 4: Apply the First Coat
Pour a line of product and pull it across with the squeegee, keeping a wet edge so no seam dries between passes. Then let this coat cure.
Step 5: Apply the Second Coat
Lay the second coat after the first is dry to the touch. Two thin coats build the strong film; three are best on very fresh or porous asphalt. Sanded product goes on this final pass if you need extra grip on a slope.
Step 6: Let It Cure and Stay Off
Keep foot traffic off for 24 hours and vehicles off for 48 to 72, longer in cool weather. Give the surface room to breathe, especially when rain is in the forecast.
Pro Tip: Time the job for a long weekend, because the cure, not the coating, is the part you can’t rush. Three dry days of forecast are worth more than three extra degrees of temperature.
Cost Analysis: What to Expect
Let’s talk dollars, because that is the first question every homeowner asks me. For a DIY job on a standard 600-square-foot driveway, the sealant alone runs about $100 to $250. Add crack filler, cold patch, and a few tools, and the total lands around $150 to $350.
Hiring a pro changes the numbers. The average professional rate is $0.25 to $0.50 per square foot, which puts that same 600-square-foot driveway at $150 to $300. Larger lots drop the per-foot price.
Now compare that with the real cost of neglect. My driveway repave cost for 2026 and my full asphalt driveway cost guide both show that a repave at $3 to $7 per square foot dwarfs the cost of sealcoating every few years. That is why experts call sealing the highest-return job in home maintenance.
Two small money tips from the field. Always buy 10 percent extra sealant, because running short mid-coat leaves a patch you can’t blend. And keep the surface clean so a new coat lasts the full two to three years instead of failing early.
Pro Tip: Watch for the “price per pail” trap. A five-gallon tub of bargain seal can look like a great deal until you see it wash away in a single winter. I’ve watched $12 pails fail in one season while a premium brand held five years, so divide the pail price by how long the coat actually lasts.
Professional vs DIY: Making the Right Choice
There are two roads here, and I have used both. If your driveway is flat, smooth, and under about 2,000 square feet, the DIY route works well. You control the quality, the timing, and the budget, and it costs a weekend rather than a crew.
If your driveway is large, steeply graded, or in poor shape, or if you simply don’t have the weekend, a professional is the better buy. A spray rig lays a thinner, more even coat than a hand squeegee ever will. Just vet the company first — my paving contractor vetting checklist shows the red flags to screen for.
Either way, the same discipline applies: how to sealcoat an asphalt driveway correctly comes down to prep and weather, not which hands hold the tool. A clean, dry surface and a clear forecast beat any equipment.
Pro Tip: Whichever route you pick, book the seal early and watch the extended forecast. Sudden temperature swings are the leading cause of a failed seal, so pick a window with a stable, mild run of days.
Common Mistakes to Avoid
The list of common failures is short, and I have watched most of them happen. Learn these so they don’t cost you a decade of driveway life.
- Sealing in the wrong weather. This is the number one killer, done whenever the temperature is near or below 50°F.
- Skipping the cleaning step. Dirt trapped under the surface means every coat lifts within months.
- Sealing over active cracks. The damage keeps traveling underneath the new seal.
- Driving on it too soon. Every hour you rush is an hour of staring at tire tracks.
- Forgetting to reseal. Many failing driveways simply missed their third-year appointment.
The full breakdown of each one is written out in my common asphalt sealcoating mistakes guide.
Maintenance Tips and Best Practices
Great owners plan the driveway. Sweep it monthly, patch small cracks as they appear, and reseal on the calendar. In freezing climates, my asphalt crack repair in the fall guide explains the seasonal timing, and my driveway water damage tips cover drainage. If you prefer to run the whole job yourself, the sealcoating DIY steps are a handy checklist, and I always note the coat brand and date somewhere you won’t lose it.
If you’re also weighing surface types, my asphalt vs concrete driveway guide and the separate concrete driveway guide show the maintenance differences side by side.
Pro Tip: Do the reseal in the same month every cycle so you never miss it. I tie mine to the spring gutter cleaning — two chores, one reminder — because a date on the calendar beats a gray driveway every single time.
Sealcoating Costs and Methods at a Glance
| Aspect | DIY Squeegee | DIY Spray | Professional |
|---|---|---|---|
| Cost for 600 sq ft | $150-$350 | $250-$400 | $150-$300 |
| Time required | 1-2 days | 1 day | 4-8 hours |
| Finish quality | Good | Very good | Excellent |
| Skill required | Moderate | Moderate | None for you |
| Typical seal life | 2-4 years | 3-5 years | 4-7 years |
Frequently Asked Questions
How often should I sealcoat my asphalt driveway?
Every 2 to 3 years is right for most homes. Lightly used driveways stretch toward the 3-year mark, while rental lots and busy commuter drives seal every 2.
What temperature is safe to sealcoat?
Only between 50°F and 85°F, and only with 48 dry hours on each side. Below that range the seal won’t bond, and above it the surface blisters.
How long must I stay off the driveway?
Foot traffic after 24 hours, vehicles after 48 to 72. The cure is the part you can’t afford to rush.
Do I need to power-wash first?
Yes. Clean and dry are the seal’s best partners. Surface dirt prevents any coat from bonding, no matter how good the product.
Can I sealcoat over an old sealcoat?
You can, as long as you power-wash and dry first. Bonding problems show up fast when the old coat is worn in patches.
Is sealcoating worth the money?
Very much. At $150 to $300 every two to three years, it protects a surface that would cost $3,000 to $6,000 to repave. That is the cheapest insurance on your property.
Does sealcoating help with ice and snow?
Not directly. Sealcoating seals the surface against water, but it isn’t a deicer. Still, a sanded seal adds grip, and keeping the surface sealed and tight means less moisture to freeze and expand when the mercury drops. Pair the seal with a winter maintenance checklist and you get the whole-year picture.
Conclusion
You now know how to sealcoat an asphalt driveway, why maintenance beats replacement, and the exact window to act. Done on schedule, sealing costs a few hundred dollars every couple of years. Neglected, the repair bill runs into the thousands.
The plan is simple: clean it, patch it, seal in two thin coats, and give the surface the days it needs to cure. Then set the reminder for two years out, because the real winners protect their largest surface on a schedule rather than by emergency.
Sealed on time, your driveway doesn’t just look better, it lasts longer and costs far less per year. Protect it early, keep the grit off, and the payoff is years of an open, car-worthy driveway that still turns heads when the neighbors’ has gone gray. When in doubt, talk to a local asphalt professional about your exact surface, and keep the maintenance calendar handy for the rest of the season.