I’ve seen many sealcoating jobs go wrong, and it’s not a pretty sight. I’ve been in the asphalt business for years. I’ve seen driveways and parking lots turn into cracked, peeling messes. It’s sad to see property owners waste money on mistakes that could have been avoided.
Proper pavement protection is more than just applying sealer. It’s an art and science that needs knowledge and skill. Most mistakes come from not understanding the process and its importance in asphalt care.
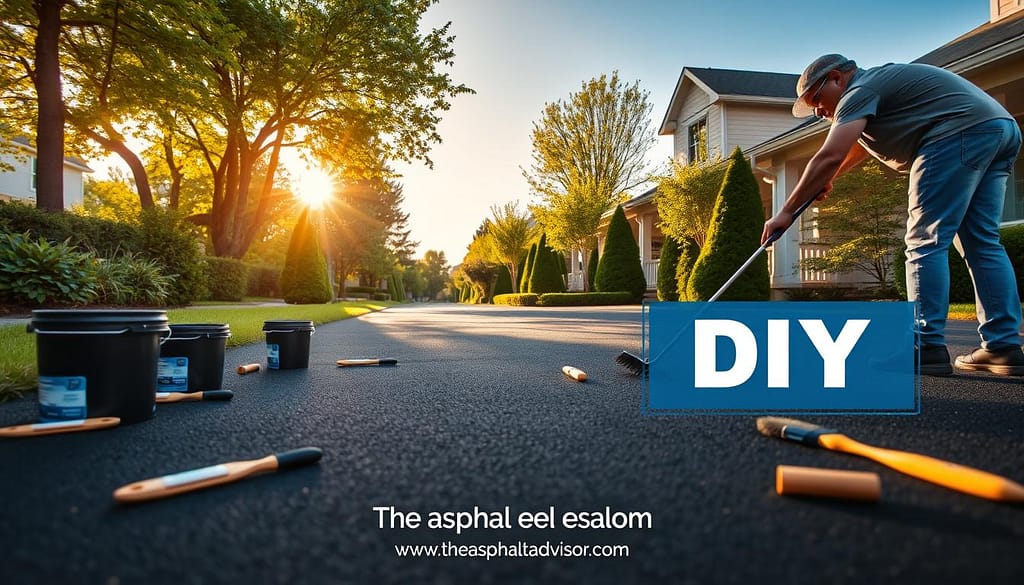
Did you know DIY sealcoating is the biggest mistake? It might seem cheap, but it often causes more problems. Professionals use better sealers and know how to apply them right, keeping your pavement safe for years.
In this article, I’ll share common sealcoating mistakes and how to avoid them. Whether you’re a homeowner or a property manager, knowing these mistakes can help you make better choices for your asphalt.
Key Takeaways
- DIY sealcoating is the most common mistake in asphalt maintenance
- Professional contractors use higher-quality sealers and proper application techniques
- Warm, dry weather with temperatures above 50°F is key for sealcoating success
- Proper surface prep is vital for sealant bonding
- Sealcoating needs 24-48 hours to fully cure
- Repairs must be done before applying sealant, as it doesn’t fill cracks
- Over-sealing can harm asphalt, so follow recommended intervals
Understanding Sealcoating
Sealcoating is key to keeping pavement in good shape. It adds a protective layer to asphalt, making it last longer and look better.
What is Sealcoating?
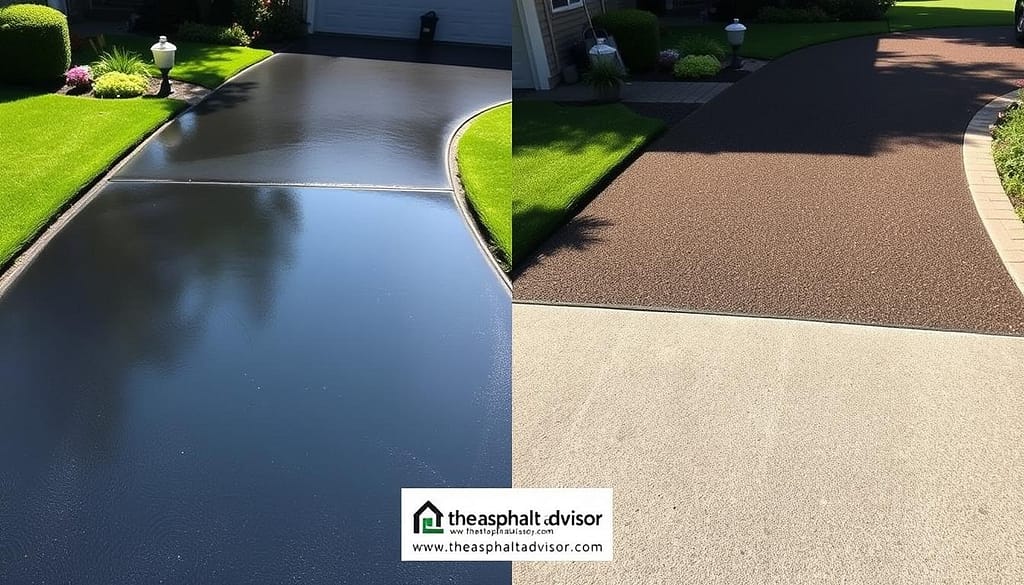
Sealcoating acts as a shield for asphalt. It guards against damage from UV rays, water, and chemicals. The process starts with cleaning, fixing cracks, and then applying a sealant.
Benefits of Sealcoating
Sealcoating has many benefits:
- It makes pavement last longer
- It protects against weather damage
- It cuts down on repair costs
- It makes the surface look better
- It makes cleaning easier
Why Mistakes Happen
Mistakes in sealcoating are common. They often come from not knowing enough or not having enough experience. Some common errors include:
| Common Mistake | Consequence |
|---|---|
| Improper cleaning before application | Uneven finish and premature wear |
| Choosing wrong sealcoat | Subpar performance and reduced protection |
| Applying during poor weather conditions | Affects curing process and overall durability |
Knowing about sealcoating is important for keeping pavement in top shape. It helps property managers keep their asphalt surfaces looking good and lasting longer, saving them money in the long run.
Timing Your Sealcoating Project
Timing is key when it comes to sealcoating. Choosing the right moment can make or break your project. Let’s explore the important factors that affect sealcoating timing and how to get it right.
Weather Considerations
Weather is a big deal for sealcoating success. I aim for days with temperatures between 50-85°F. Rain is a big no-no – you need at least 24 hours of dry weather after applying.
Seasonal Timing Tips
Late spring, summer, and early fall are the best times for sealcoating. These seasons usually have the perfect weather. But, watch out for those hot summer days. They can dry the sealcoat too fast, ruining the results.
Importance of Surface Temperature
Asphalt temperature is just as important as air temperature. I always check the surface temperature before starting. If it’s too hot or cold, it can mess up how well the sealcoat sticks to the asphalt. A good rule: if you can’t comfortably place your hand on the surface, it’s too hot to sealcoat.
| Factor | Ideal Conditions | Why It Matters |
|---|---|---|
| Air Temperature | 50-85°F | Ensures proper curing |
| Weather Forecast | Dry for 24+ hours | Prevents rain damage |
| Surface Temperature | Cool to touch | Aids in proper bonding |
| Season | Late spring to early fall | Provides optimal conditions |
By considering these factors, you’ll ensure a successful sealcoating project. Remember, patience in timing leads to long-lasting results!
Choosing the Right Materials
Choosing the right sealcoating materials is essential for a job that lasts. I’ll help you understand the different types of asphalt sealers. We’ll also look at balancing quality and cost, and exploring eco-friendly options.
Types of Sealcoating Products
There are three main types of sealcoating materials:
- Asphalt emulsion: Eco-friendly and easy to apply
- Coal tar: Tough and long-lasting
- Acrylic: Comes in various colors
Quality vs. Cost: Finding the Balance
It’s tempting to choose the cheapest option. But, that’s often a mistake. High-quality, commercial-grade sealcoating products cost more upfront. They last longer, which means fewer reapplications and better protection for your asphalt.
Environmental Considerations
Eco-friendly sealcoating is becoming more popular. Asphalt emulsion sealers are a top choice for those worried about the environment. They’re low in VOCs and don’t contain harmful coal tar.
| Sealer Type | Durability | Eco-Friendliness | Cost |
|---|---|---|---|
| Asphalt Emulsion | Good | High | Medium |
| Coal Tar | Excellent | Low | High |
| Acrylic | Fair | Medium | Low |
The best sealcoating materials depend on your specific needs. Think about your climate, traffic, and local regulations when making your choice.
Preparing the Surface Properly
I know that proper asphalt surface preparation is key to a successful sealcoating project. It’s not just about slapping on a coat of sealer and calling it a day. Let’s dive into the essential steps to get your surface ready for a top-notch sealcoating job.
Cleaning Techniques
First things first, we need to clean that surface thoroughly. I always start with power washing to remove dirt, debris, and any loose material. For stubborn oil stains, I use a degreaser. It’s important to get rid of all contaminants to ensure the sealer bonds well with the asphalt.
Repairing Cracks and Potholes
Next up is crack repair and pothole filling. I inspect the entire surface for any damage. Small cracks get filled with a crack sealer, while larger ones might need a hot pour sealant. For potholes, I use a cold patch or hot mix asphalt, depending on the size. Fixing these issues prevents water from seeping in and causing more damage down the line.
Importance of Drying Time
After cleaning and repairs, drying time is critical. I always allow at least 24 hours for the surface to dry completely. This step is often overlooked, but it’s vital for proper sealer adhesion. If there’s any moisture left, it can lead to bubbling or peeling of the sealcoat.
Remember, taking the time to prepare your surface properly will pay off in the long run. A well-prepared surface leads to a longer-lasting, better-looking sealcoat that protects your asphalt investment.
Applying Sealcoat: Step-by-Step
Sealcoating your asphalt is key to keeping it in good shape. I’ll show you how to do it right, so you get the best results.
Equipment Needed
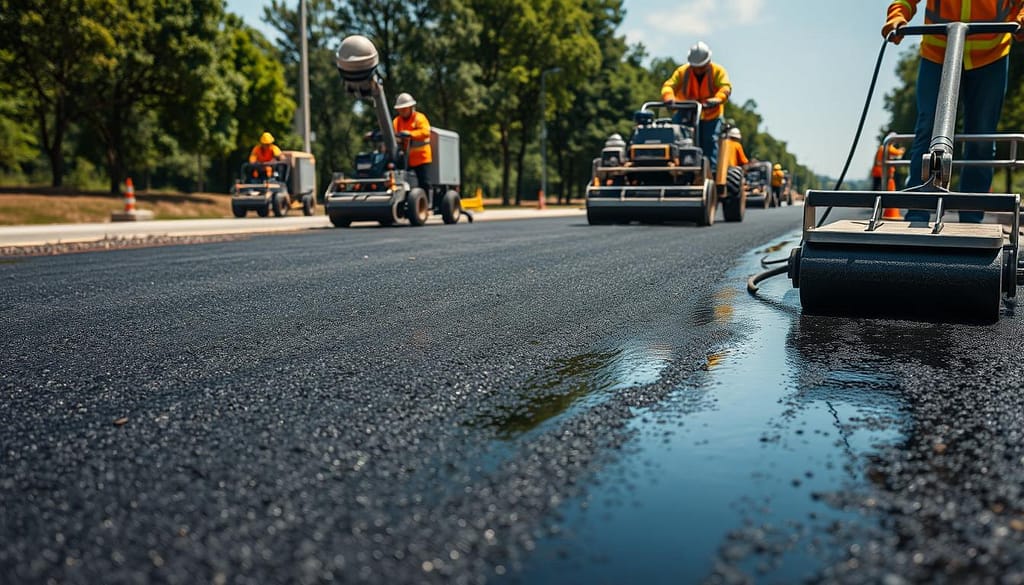
You’ll need special tools for sealcoating. Pros use pressurized sprayers for fast, even coverage. DIY folks might use squeegees or brushes, but these can cause unevenness.
Application Techniques
Start at the top and work down when sealing asphalt. Apply the sealant in small sections to cover everything. Don’t water down the sealant before applying.
Proper Thickness of Application
Getting the right amount of sealant is important. Too much can cause cracks too soon. Stick to the manufacturer’s advice for thickness. Two thin coats are better than one thick one.
- Ideal temperature for sealcoating: 50°F and above for 24 hours
- Minimum drying time before use: 24 hours
- Best seasons for application: Late spring, summer, early fall
By following these steps and using the right tools, you’ll get a professional finish. This will protect your asphalt for many years.
Common Misapplications
I’ve seen many sealcoating mistakes over the years. Let’s look at some common issues and how to avoid them. The right application is key to keeping your asphalt surface in good shape.
Overapplication Issues
One big mistake is applying too much sealant. This can cause cracking and chipping. It might seem like more is better, but it’s not. You want a thin, even coat.
Overapplying can make your surface look good at first but then quickly deteriorate.
Neglecting Edges and Corners
Sealing asphalt edges is often forgotten, but it’s very important. These areas are more vulnerable and need extra care. If you ignore them, your surface can wear unevenly, harming its integrity.
Understanding Driveway vs. Parking Lot Needs
Driveways and parking lots have different needs for sealcoating. Driveways, with less traffic, might need a different approach than busy parking lots. Not understanding these differences can lead to poor protection or too much sealant.
| Area | Traffic Level | Sealcoating Frequency |
|---|---|---|
| Driveway | Low to Moderate | Every 2-3 years |
| Parking Lot | High | Every 1-2 years |
Sealcoating is not a solution for everything. It’s meant to protect and preserve, not fix gaps or damage. Fixing underlying issues before sealcoating is key for lasting results.
Health and Safety Precautions
Sealcoating safety is a top priority in the asphalt industry. I’ve seen how proper precautions prevent accidents and protect workers. Let’s explore some key safety tips for sealcoating.
Protective Gear Recommendations
Wearing the right protective equipment is key. The American Society of Safety Professionals says 70% of workplace injuries happen because of bad personal protective gear. Here’s what I always wear:
- Safety glasses or goggles to protect eyes from splashes and debris
- High-visibility safety vests for better visibility
- Nitrile-coated gloves for everyday tasks, heat-resistant gloves for hot equipment
- Respirator mask to prevent inhaling fumes
Ventilation Best Practices
Good ventilation for sealcoating is vital, even in enclosed spaces. I always:
- Open all windows and doors when working indoors
- Use fans to circulate air and disperse fumes
- Take frequent breaks in fresh air
- Keep a fire extinguisher nearby as a safety precaution
The U.S. Bureau of Labor Statistics reports 7.2 injuries per 100 full-time workers in the asphalt paving industry. By following these guidelines, we can work towards reducing this number. This will help create a safer work environment for everyone involved in sealcoating projects.
Maintenance After Sealcoating
Proper sealcoating maintenance is essential for your asphalt’s longevity. Regular care protects your investment and keeps your pavement looking great for years.
Importance of Regular Inspections
Asphalt inspection is vital for early issue detection. I inspect my driveway every few months. I look for cracks, stains, or sealant wear.
Recommended Resealing Intervals
Resealing frequency varies based on several factors. For my driveway, I reseal every three to five years. High-traffic areas might need more frequent attention. Here’s a quick guide I follow:
| Surface Type | Resealing Interval | Factors Affecting Frequency |
|---|---|---|
| Residential Driveway | 3-5 years | Weather, usage, initial sealcoat quality |
| Commercial Parking Lot | 2-3 years | Traffic volume, exposure to elements, vehicle types |
| Low-Traffic Areas | 4-6 years | Sunlight exposure, drainage, surrounding vegetation |
These are general guidelines. I assess my situation and consult experts when needed. By maintaining sealcoating and following resealing intervals, my asphalt stays in great condition for years.
Cost Considerations
Sealcoating costs depend on several factors. I’ve looked into the numbers to guide you in your decision. Let’s explore the costs of DIY versus professional sealcoating.
Budgeting for Sealcoating
Professional sealcoating services usually cost between $0.08 and $0.30 per square foot. For a 600 square foot area, expect to pay $48 to $180. DIY sealcoating costs range from $0.15 to $0.25 per square foot. Here’s a cost comparison for different areas:
| Area | Size | Professional Cost | DIY Cost |
|---|---|---|---|
| Residential Driveway | 640 sq ft | $96 – $192 | $96 – $160 |
| Commercial Parking Lot (per car space) | 246 sq ft | $36.90 – $73.80 | $36.90 – $61.50 |
DIY vs. Hiring Professionals
DIY sealcoating might seem cheaper, but think about the cost of equipment and materials. A gas blower can cost up to $1,900, and a 55-gallon drum of asphalt sealer is between $464 and $533. Professionals offer better long-term value with their equipment and expertise.
Be cautious of 25% of untrustworthy contractors who might give low quotes without checking the site. Always get several quotes and make sure your contractor is insured. While DIY can save money, mistakes can cost more later. Think carefully about what’s best for your sealcoating project.
Identifying Quality Work
It’s important to know how to spot good sealcoating. This helps keep your pavement looking great and lasting longer. Let’s look at how to tell if sealcoating is poor and why customer reviews matter.
Signs of a Poor Sealcoating Job
Spotting bad sealcoating early can save you money later. Here are some things to watch for:
- Uneven coverage or patchy appearance
- Bubbling or blistering on the surface
- Premature cracking or peeling
- Rough or gritty texture
- Visible brush marks or streaks
Feedback from Previous Customers
Customer reviews are key to knowing if a contractor does good work. Always check online reviews and ask for references. Look for comments that talk about:
| Positive Indicators | Negative Indicators |
|---|---|
| Even application | Uneven or patchy finish |
| Smooth texture | Rough or gritty surface |
| Proper edge sealing | Sloppy edges or overspray |
| Timely completion | Delays or extended project times |
| Excellent customer service | Poor communication or unprofessionalism |
By focusing on these points and valuing customer feedback, you can get a top-notch sealcoating job. This will keep your pavement looking good and lasting for many years.
Troubleshooting Common Issues
Dealing with sealcoating problems can be frustrating. But knowing how to fix them is key. I’ve seen many cases where asphalt peeling and pavement stains have caused headaches for property owners. Let’s dive into some solutions for these common issues.
Peeling and Chipping Problems
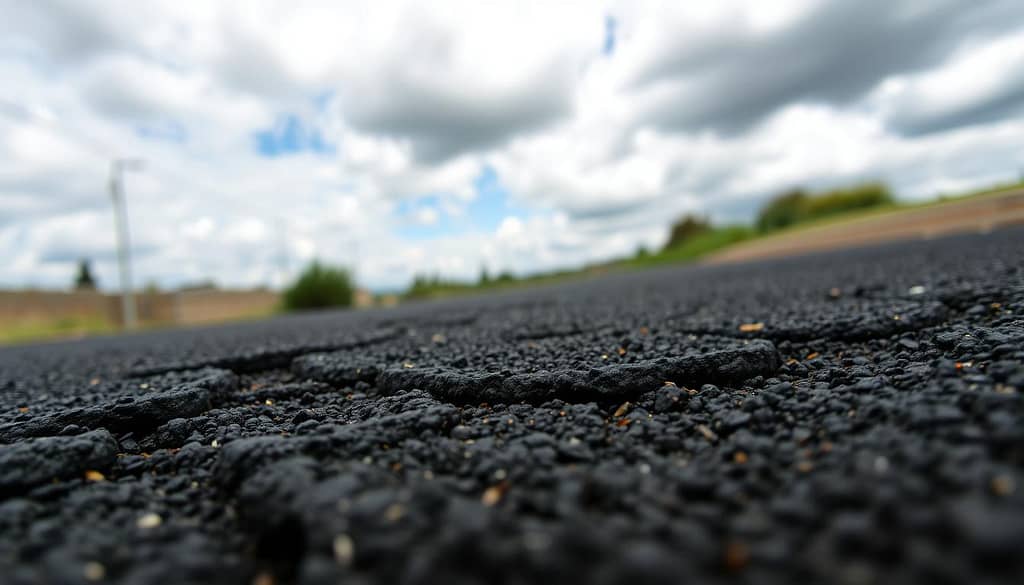
Asphalt peeling often results from poor surface prep or overapplication. In Dallas, where weather can be unpredictable, it’s important to apply sealcoat in thin layers. I recommend two to three thin coats, allowing each to dry between applications. This approach prevents massive curing problems that lead to peeling.
Stains and Discoloration Solutions
Pavement stains are a common sealcoating problem. Oil spots can damage asphalt if left untreated. For fresh stains, I use a degreaser and power wash. For older stains, a professional might need to apply a primer before resealing. Remember, sealcoating isn’t a fix for major cracks – repair those first!
To prevent future issues, I suggest regular inspections and maintenance. Sealcoat your parking lot every two to three years to maintain color and flexibility. This practice helps avoid many sealcoating problems down the road.
| Issue | Cause | Solution |
|---|---|---|
| Peeling | Poor surface prep, overapplication | Apply thin coats, allow proper drying |
| Stains | Oil spills, chemicals | Clean promptly, use degreaser |
| Discoloration | UV exposure, aging | Regular resealing every 2-3 years |
Conclusion: Best Practices for Successful Sealcoating
Sealcoating is key to keeping your asphalt in great shape. The industry is growing fast, showing how important it is. To get the best results, seal when it’s warm outside, like in fall or spring.
Make sure the surface is clean and dry before applying. Fix any cracks first. Use top-quality products for the best look and protection.
Whether you do it yourself or hire a pro, have the right tools ready. Sealcoating should be done every two to three years. This keeps your pavement looking good and lasting longer.
Also, protect nearby surfaces and keep pets and kids away from the sealcoated area. Use sealcoats that resist UV rays and are durable. This way, your asphalt will stay in great condition for many years.

The asphalt has been stained with paint, bondo and fiberglass as well as caulk and welding debris. I cannot remove these from the surface with the standard tools. Can I use a power tool with a wire brush or will it damage the asphalt and require patching and tamping
A light, careful touch with a power wire brush might work for some of these stains, but there’s genuine risk of creating texture damage that shows through the sealcoat. The safest approach is trying chemical methods first, then manual wire brushing, and only resorting to power tools as a last resort before patching. If the stains are extensive and deeply embedded, patching and tamping may actually be the better long-term solution.
https://theasphaltadvisor.com/how-to-remove-stains-from-asphalt/