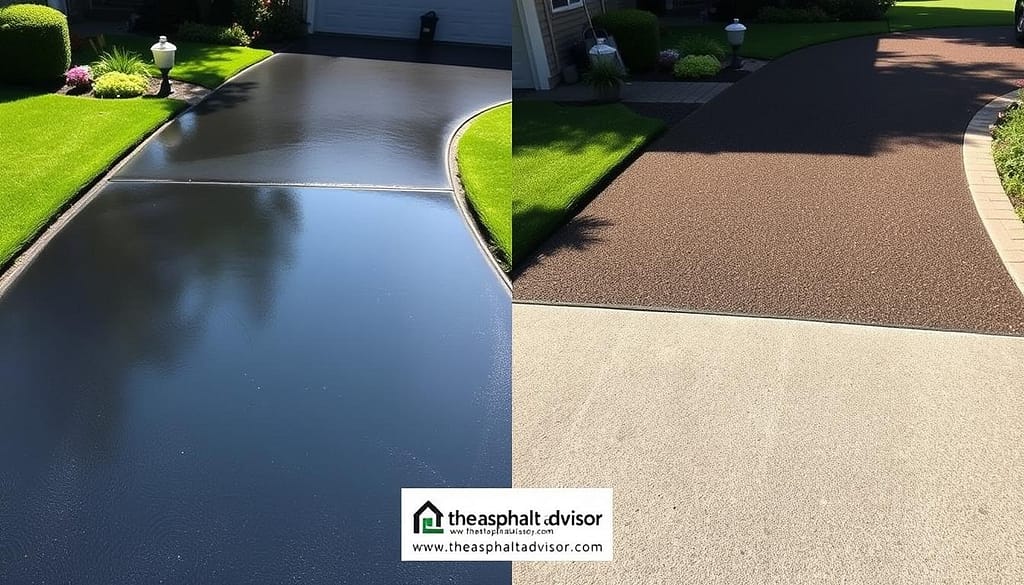
I first noticed cracks on my driveway like a spider’s web. It was a wake-up call. My driveway, once smooth, had become a patchwork of wear and tear. That’s when I discovered sealcoating’s transformative power.
Sealcoating your driveway might seem daunting, but it’s rewarding. You can do it over a weekend, saving money and feeling proud. Let’s explore sealcoating DIY tips and how they can rejuvenate your driveway.
The sealcoating process is more than a cosmetic fix. It’s a key step in keeping your driveway in good shape. By applying a protective layer, you shield your asphalt from harsh elements. A well-maintained asphalt driveway can last up to 30 years!
Key Takeaways
- Sealcoating can extend your driveway’s lifespan to 30 years
- DIY sealcoating saves about $200 in labor costs
- The project typically takes a full weekend, including drying time
- Premium sealers with UV stabilizers offer longer-lasting protection
- Weather conditions are key: aim for dry days above 50°F
What is Sealcoating and Why Is It Important?
Sealcoating is a protective layer for asphalt driveways. It keeps the surface safe from damage and makes it last longer. Regular sealcoating can make your driveway look new for decades.
Benefits of Sealcoating Your Driveway
Sealcoating has many benefits. It stops damage from the sun and keeps the asphalt from cracking. It also protects against fuel spills and water damage. Sealcoating every 2-3 years can make your driveway last up to 20 years.
Common Sealcoating Materials
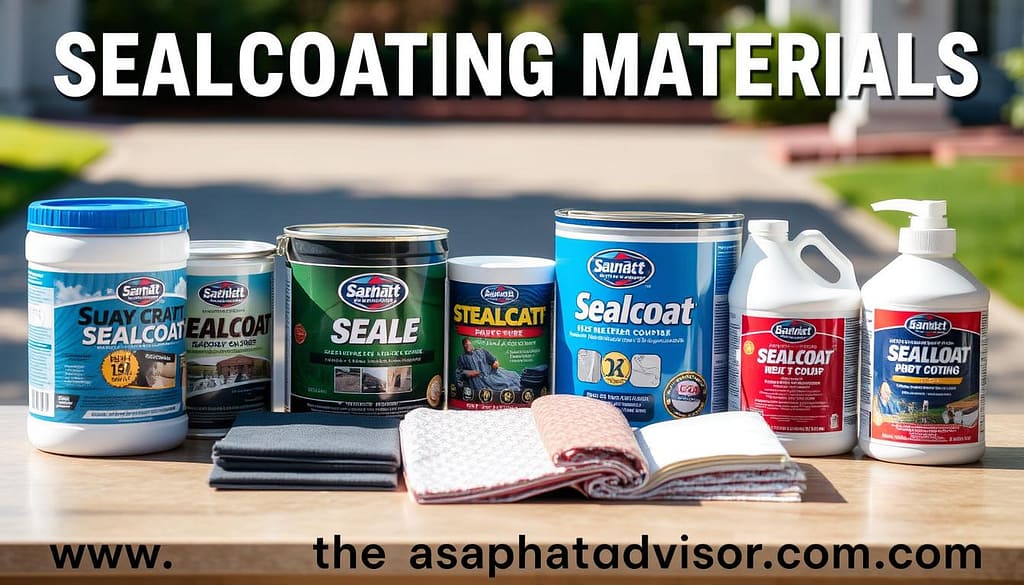
When picking sealcoating materials, consider water-based and oil-based options. Commercial-grade sealants offer the best protection. Quick-drying formulas can last up to 3 years. For the best results, use premium sealcoats with UV stabilizers and elastomeric materials.
Signs That Your Driveway Needs Sealcoating
Look out for these signs that your driveway needs sealcoating:
- Visible aggregate
- Fading color
- Minor cracks
- Rough texture
New driveways should be sealed after 90 days. For the best results, seal in summer when it’s over 50°F. Without sealant, an asphalt driveway might only last 12 years.
| Sealcoating Frequency | Driveway Lifespan |
|---|---|
| Every 2-3 years | Up to 20 years |
| No sealcoating | About 12 years |
Essential Tools for DIY Sealcoating
DIY sealcoating needs the right tools for success. Being prepared saves time and money. It also ensures a professional finish. Let’s look at the tools, products, and safety gear you’ll need.
Must-Have Tools for the Job
Here are the essential tools for your sealcoating project:
- Squeegee or application brush
- Broom for surface preparation
- Drill with mixing paddle
- Duct tape for protecting edges
- Dashing brush for detail work
- Poly sheeting for surface protection
A power washer is helpful but not necessary. Organizing these tools beforehand will make your work more efficient.
Recommended Sealcoating Products
Choosing quality sealcoating products is key. Premium sealers last longer and come with better guarantees. Here’s a comparison of different sealcoat options:
| Sealer Type | Cost | Durability | Guarantee |
|---|---|---|---|
| Premium | $100+ | High | 3-5 years |
| Mid-range | $75-$100 | Moderate | 2-3 years |
| Budget | $50-$75 | Low | 1-2 years |
Safety Gear You Should Consider
Safety is a top priority. Wear old clothes and shoes that can be thrown away after use. Additional safety gear includes:
- Long pants and long-sleeved shirts
- Hat for sun protection
- Sunscreen
- Gloves to protect hands
- Safety glasses
By following these tips and using the right tools, you’ll be ready to rejuvenate your driveway safely and effectively.
Preparing Your Driveway for Sealcoating
Getting your driveway ready for sealcoating is a key step. I’ll show you how to do it right.
Cleaning the Surface Thoroughly
First, remove all debris from your driveway. Use a broom or leaf blower to get rid of leaves, pebbles, and dirt. For tough stains, a degreaser works well.
Sealer needs a clean surface to stick to. So, cleaning well is essential for a good sealcoating job.
Repairing Cracks and Potholes
Next, fix any cracks or potholes. Use a filler for small cracks and a patching compound for bigger ones. Sealcoating won’t fix damage, so it’s important to do this first.
Let the repairs dry completely before moving on. This ensures the sealant sticks well.
Importance of Proper Drying Time
After cleaning and repairs, let your driveway dry. It usually takes 24 to 48 hours, depending on the weather. Applying sealant to a damp surface can ruin the finish.
Being patient during this time is key. It helps your sealcoating project turn out great.
By following these steps, you’re ready for a successful sealcoating job. Your driveway will be protected and look great for years.
Choosing the Right Sealcoat Product
Choosing the right sealcoat for your driveway is key. The best materials can extend its life and look. Let’s explore the options and what to consider.
Types of Sealers Available
Sealers come in two types: water-based and oil-based. Water-based ones are eco-friendly and simple to use. Oil-based sealers, on the other hand, last longer. For those who care about the environment, BioSEALSAFE™ is a soy-based option. It’s safe for families and gives a long-lasting black finish.
Factors to Consider When Selecting a Sealcoat
Think about your driveway’s condition, the local climate, and how long you want protection. A good sealer dries fast, in 3-4 hours, and lasts 2-3 years. Using a sealcoating cost estimator helps plan your budget and decide between DIY or professional services.
Comparing DIY Sealants vs. Professional Products
DIY sealants are cheaper but may not last as long as professional ones. Commercial sealers can handle heavy traffic and last up to 3 years. DIY might save money at first, but professional products offer better value over time.
| Feature | DIY Sealants | Professional Products |
|---|---|---|
| Durability | 6 months – 1 year | 2-3 years |
| Drying Time | 24-48 hours | 3-4 hours |
| Traffic Resistance | Light | Heavy |
| Initial Cost | Lower | Higher |
| Long-term Value | Variable | Better |
Application Techniques for Sealcoating
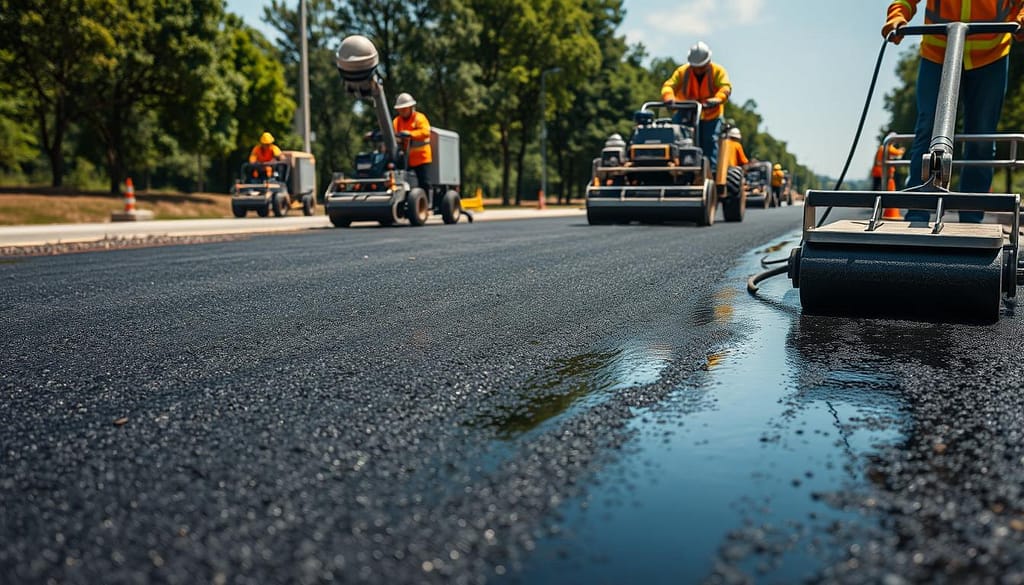
I’m excited to share my knowledge on sealcoating techniques and DIY sealcoating steps. Applying sealcoat to your driveway can be a rewarding weekend project. It saves you money and extends the life of your asphalt.
Step-by-Step Guide to Applying Sealcoat
To start, I use a long-handled paint roller or squeegee. I begin at the farthest point from the street, working parallel to my house. I pour small amounts directly onto the driveway and spread evenly.
After the first coat dries, I apply a second coat perpendicular to the first.
Tips for Achieving an Even Finish
For the best results, I maintain a consistent wand height when spraying sealer. I hold it at waist level, spraying straight down for complete coverage. I also stir the sealer thoroughly before applying to ensure even dispersal of ingredients.
What to Avoid During Application
I avoid applying sealer when temperatures are below 50°F or on scorching hot days. I also check the weather forecast to prevent rain from washing away my hard work. It’s important to let the first coat dry for about six hours before applying the second.
| Aspect | Recommendation |
|---|---|
| Coverage | 50 sq ft per gallon for 2 coats |
| Drying Time | 2 hours between coats, 24 hours before traffic |
| Traction | 5 lbs clean dry silica sand per gallon |
| Weather | Above 50°F, dry conditions |
By following these DIY sealcoating steps and using proper sealcoating techniques, I can achieve professional-looking results. This protects my driveway for years to come.
Best Practices for Sealcoating
Sealcoating your driveway can be a rewarding DIY project when done right. Timing and weather are key to success. Let’s explore some important practices to make your sealcoating efforts worthwhile.
Timing Your Sealcoating Project
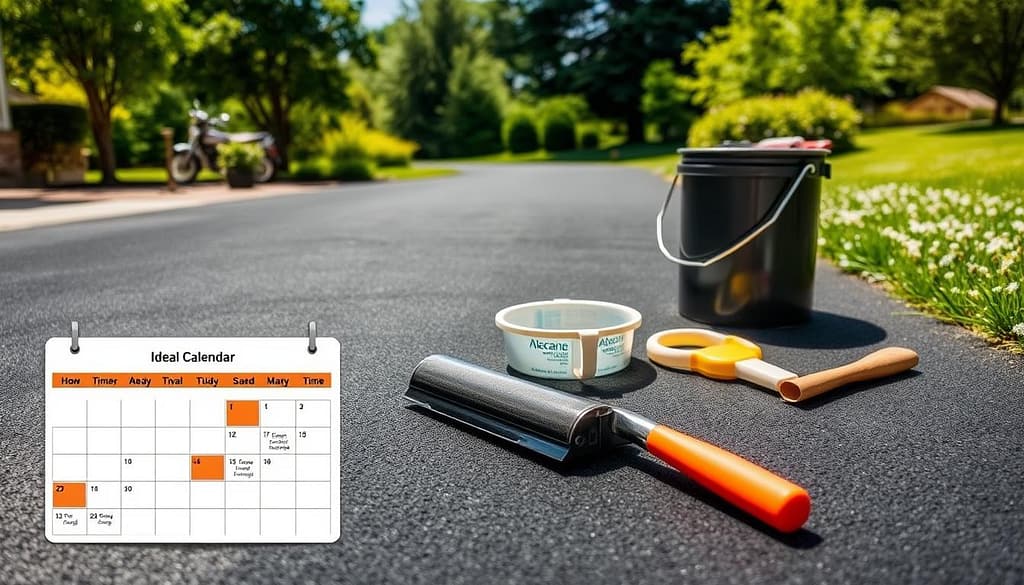
Choosing the right time for sealcoating is essential. I always aim for early summer when temperatures are mild. It’s important to have at least two consecutive dry days with temperatures above 50°F. This ensures proper curing and bonding of the sealant with the asphalt surface.
Weather Considerations for Sealcoating
Weather plays a huge role in sealcoating success. I avoid scorching hot days as they can cause the sealant to dry too quickly, leading to uneven application. Rain is also a no-go, as it can wash away the fresh sealant. Check the forecast and plan for a window of ideal conditions before starting your project.
Maintenance Tips Post-Sealcoating
After sealcoating your driveway, proper maintenance is key to longevity. I recommend keeping the surface completely dry and clear for 3-5 days to allow for proper curing. Avoid walking on it for at least 24 hours and driving for 3-5 days. For optimal protection, plan on resealing every 2-3 years. Regular cleaning between sealcoating jobs will also help extend the life of your driveway.
Remember, sealcoating your driveway is a process that requires patience and careful planning. By following these DIY sealcoating tips, you’ll be well on your way to a beautifully refreshed driveway that will last for years to come.
Common Mistakes to Avoid
Learning how to sealcoat a driveway can be tricky. Many DIY fans make mistakes that lead to poor results and expensive fixes later. Here are some key errors to avoid when using sealcoating techniques.
Over-Thinning Your Sealcoat
One common mistake is making the sealcoat too thin. This might seem like a good idea to make it easier to apply. But, the right consistency is key for good protection. Always stick to the mixing ratios suggested by the manufacturer.
Applying on a Wet Surface
Sealcoating a wet driveway is a big mistake. Water stops the sealcoat from sticking well, causing it to peel and flake. Make sure your driveway is completely dry before you start. If it’s going to rain, wait until later.
Ignoring Temperature Guidelines
Temperature is very important for sealcoating. Applying it when it’s too cold (below 50°F) or too hot can mess up the curing process. The best time for sealcoating is usually late spring to early fall.
Other mistakes include not cleaning the surface well enough, hurrying the drying time, and using the wrong tools. By avoiding these mistakes and following the right sealcoating techniques, you can get a professional-looking finish. This will protect your driveway for many years.
How to Extend the Life of Your Sealcoat
Sealcoating your driveway is not a one-time task. It’s a continuous effort to keep your asphalt looking good and lasting longer. With proper care, your driveway can last 20-30 years.
Routine Maintenance Tips
Regular cleaning is essential to extend your sealcoat’s life. I sweep my driveway weekly and wash it monthly. This stops harmful substances from damaging the surface.
I also fix small cracks quickly. Tiny cracks can let gallons of water into your asphalt base every minute. So, I always check my driveway’s condition.
Signs That Indicate Reapplication Needed
I look for signs that it’s time to reapply sealcoat. If the color fades, you see the aggregate, or there are minor cracks, it’s time. Sealcoating every 2-3 years can save up to 50% on repair costs.
The Role of Driveway Cleaning in Longevity
Cleaning is not just for looks; it’s vital for your driveway’s health. I quickly remove oil spills, leaves, and debris. This prevents damage and keeps the sealcoat lasting longer.
By following these steps, I’ve seen my driveway stay functional and appealing for 15 to 30 years.

